
Step 1
Step 1
Step 1
Step 1
Step 1
Step 1
Step 1
Step 1
What is your photo about?
What is your photo about?
What is your photo about?
What is your photo about?
What is your photo about?
What is your photo about?
What is your photo about?
What is your photo about?
Toni Kuraga is a Spanish photographer we truly admire, who also photographed our first author mockup collection: K1NK1. To start this tutorial, Toni advices you to start with a strong theme or genre (like, for instance, urban culture, nature or daily life): committing with an idea will make your photo more intentional and striking to the viewer’s eye.
Ask yourself: what would be the subject of the photo? A poster? A mobile device? Think about what’s going on around this subject: what kind of scenario are you picturing? Consider your immediate environment: what places do you find interesting?
Toni’s
Tips
You don’t want to be too obvious about setting up your photo. Magic normally happens when you mix two unexpected elements: they can both come from ordinary life, but from different contexts.
Short
Stories
Your photo will tell a short story, not a long one. This means the photo should have a strong focal point, aimed to focus attention. In that sense, the viewer will be left intrigued, thinking about what they’re looking at.
Wide
Shots
In order to tell a story with a photo is better to use wide shots to introduce the subject in its context, helping the viewer create a relationship between both elements.
Step 2
Step 2
Step 2
Step 2
Step 2
Step 2
Step 2
Step 2
Research and moodboard
Research and moodboard
Research and moodboard
Research and moodboard
Research and moodboard
Research and moodboard
Research and moodboard
Research and moodboard
Before getting any technical, Toni advices you to do some visual research. Besides the usual design platforms, you can dive into artistic movements and creators from different historical periods. Museums’ digital collections and public domain digital libraries can be of great help to get some inspiration.
For this photo, Toni decided to dig deeper into the quinqui cultural movement. Quinqui emerged in the 70s from the outskirts of Spanish cities, giving rise to a cultural movement that involved flamenco, rumba music and movies.
“I soaked up the entire visual culture from the quinqui universe through films. Music also served as an inspiration, as well as current artistic references such as C. Tangana, Rosalía, Ladilla Rusa or neoquinqui movies like «Raising rats»”
Toni’s
Tips
The most important thing is not to lose sight of your theme: keep in mind that all decisions must be aimed at telling that story (in this case, the story of a future mockup).
Analyze
Analyze the visual culture of the universe you have chosen. What type of colors, textures, angles and objects are present there?
Mood-
board
After analyzing it, extract the most representative elements from this universe. Create a moodboard in order to include them on one single image.
Step 3
Step 3
Step 3
Step 3
Step 3
Step 3
Step 3
Step 3
Merge elements!
Merge elements!
Merge elements!
Merge elements!
Merge elements!
Merge elements!
Merge elements!
Merge elements!
Iconic photos are created by merging elements from different worlds. In this case, Toni advices you to make a list of the possible scenarios you could play with. At the same time, make a list of the possible subjects (in these case, objects) you would like to portray.
Toni’s
Tips
Don’t forget that the subject (in this case, a poster) will be the main character of our image, so it is preferable to choose environments without visual noise to increase its prominence.
Context
Go for a walk or have a look around and try to find some interesting escenarios you could use as a background for your mockup. You can use common backgrounds too, such as walls, to take your shot.
Objects
Think about additional objects that you might extract from its natural context to create more visually powerful images.
Step 4
Step 4
Step 4
Step 4
Step 4
Step 4
Step 4
Step 4
Prepare the shooting
Prepare the shooting
Prepare the shooting
Prepare the shooting
Prepare the shooting
Prepare the shooting
Prepare the shooting
Prepare the shooting
Toni recommends you to think carefully about light. In his own words: “For this photo, we wanted to play with natural light, having enough contrast to play with the shadows. That’s why I started shooting at 11 am”.
Every element in the photo helps communicate your theme. To achieve better results, it’s always nice to experiment with additional elements.
Volume!
Think about volume! A poster is normally a flat object, but what if you use two posters, one of it being folded?
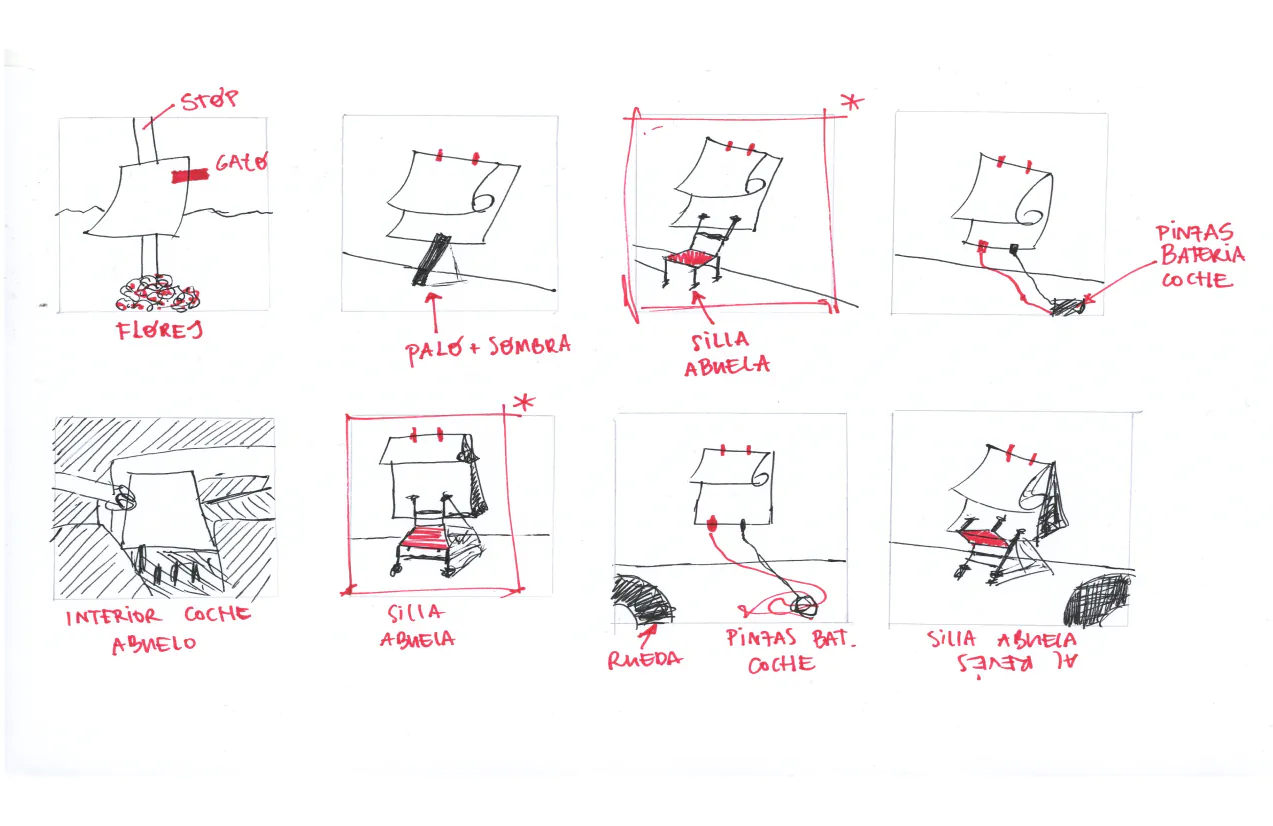
Sketch!
Don’t start shooting! Be intentional. Draw some rough sketches of the angles you might take your photo from.
Step 5
Step 5
Step 5
Step 5
Step 5
Step 5
Step 5
Step 5
Composition, experimentation, shooting
Composition, experimentation, shooting
Composition, experimentation, shooting
Composition, experimentation, shooting
Composition, experimentation, shooting
Composition, experimentation, shooting
Composition, experimentation, shooting
Composition, experimentation, shooting
At this point of the process, it’s time to take action and start composing our picture. By the way you arrange all your photo’s elements, you’ll have the power to make it aesthetically more interesting.
“When composing an image, it is important to be clear about the story you want to tell without forgetting that the poster needs to occupy a considerable surface of the frame”.
Toni Kuraga: “I start with some basic composition rules such as thirds or symmetry, but I am always attentive to my intuition and once I have the basic composition I start to play and move the subject within the frame until I reach the perfect composition.”
“Consider everything you’ve prepared, but don’t be afraid to experiment. If something doesn’t work, change it. Use the camera to take several test shots, moving the elements of the composition around to see what looks «right» to you”.
Step 6
Step 6
Step 6
Step 6
Step 6
Step 6
Step 6
Step 6
Edit your photograph
Edit your photograph
Edit your photograph
Edit your photograph
Edit your photograph
Edit your photograph
Edit your photograph
Edit your photograph
Once you have selected your favorite photo from the shooting, it’s time to do some editing.
During this phase, Toni unveiled some hidden details and colors by playing with lightning and color parameters on Adobe Lightroom.
He also erased some noisy elements (such as paintings and scratches, as well as the residual presence of a door) in order to create a stronger focal point on the subject. Toni recommends you to erase every spot or trace of dirt you might find: the subject of the photo will be the vessel of your design, so it’s always a nice idea to make it look flawless.
And no worries! You guys can also download the Lightroom edits video and the Photoshop erasing edits video by clicking on the buttons below!
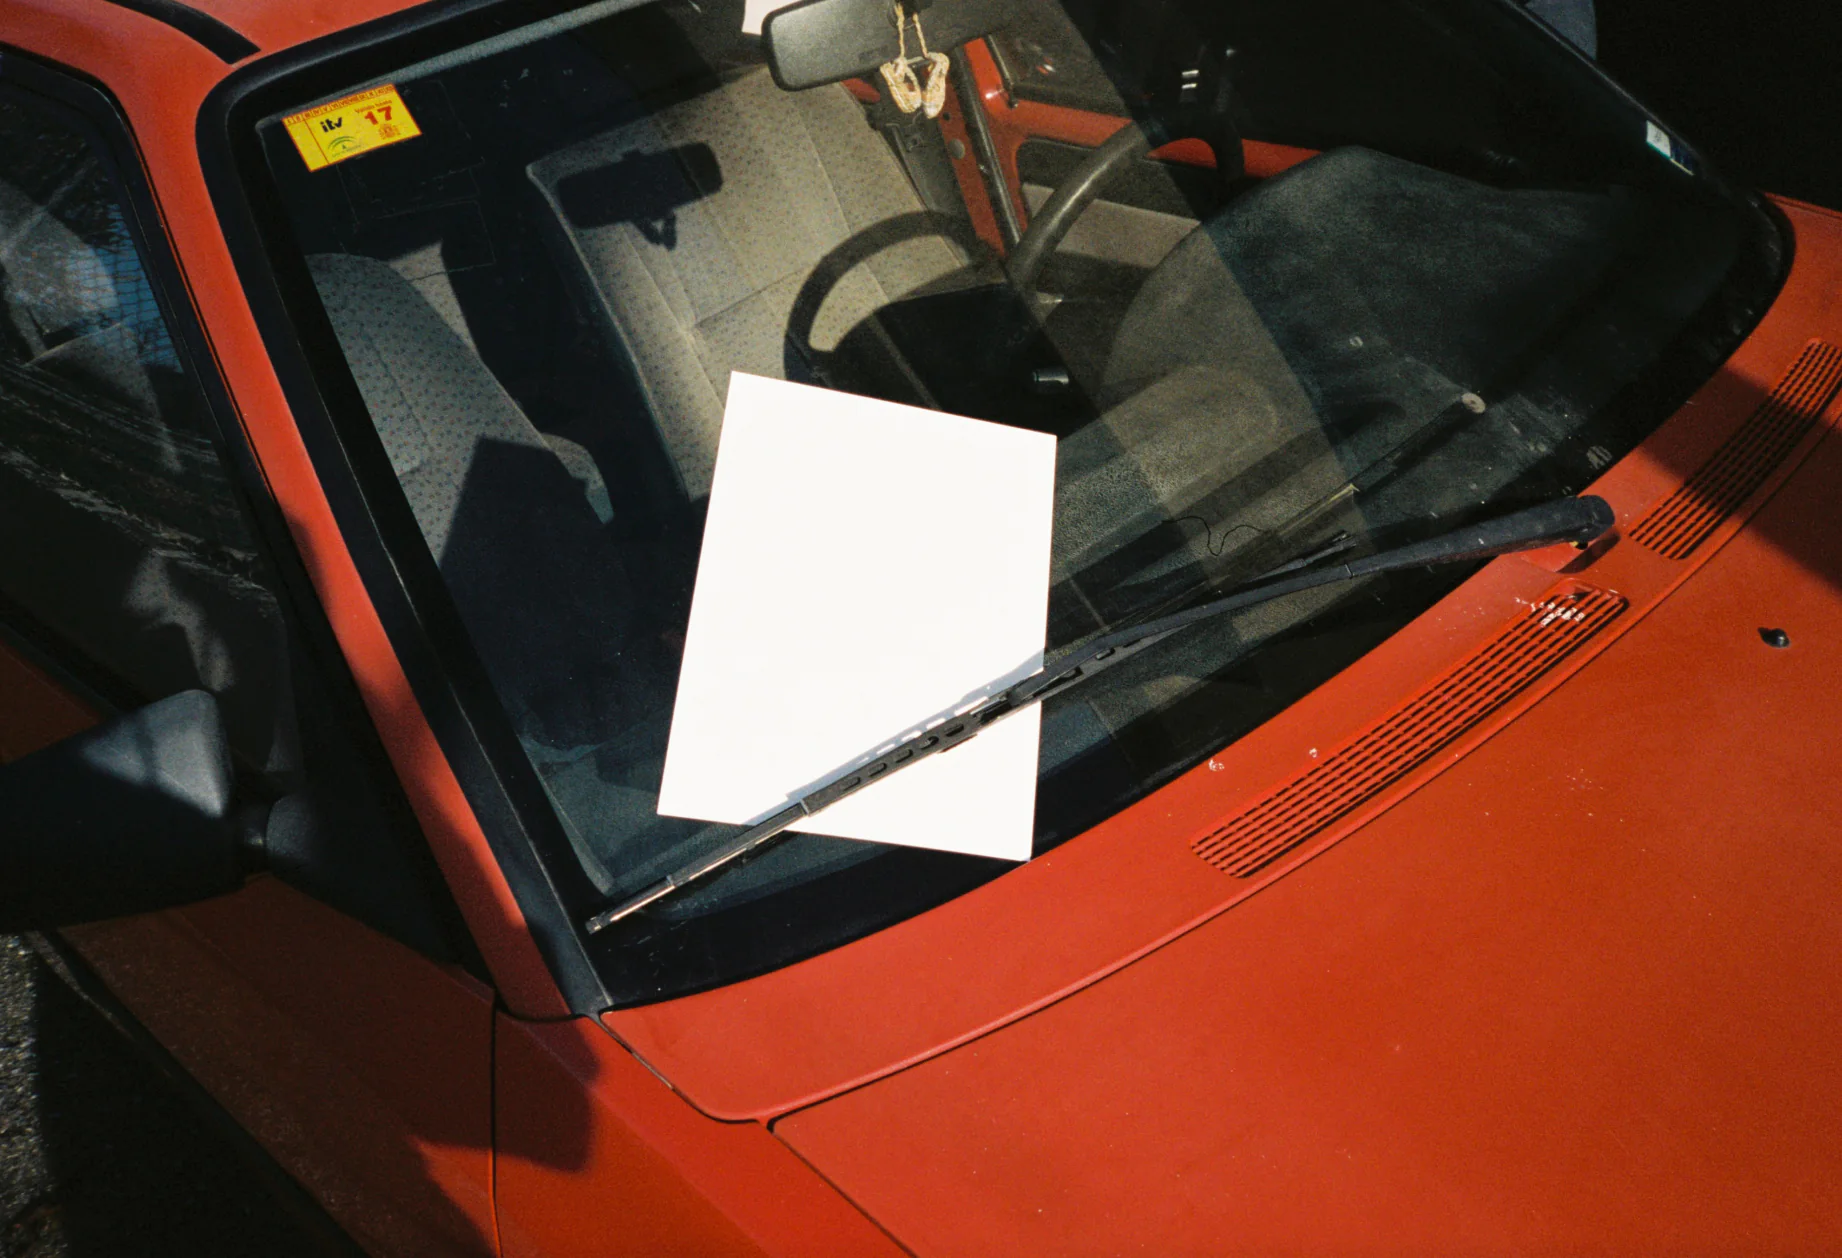
Final results
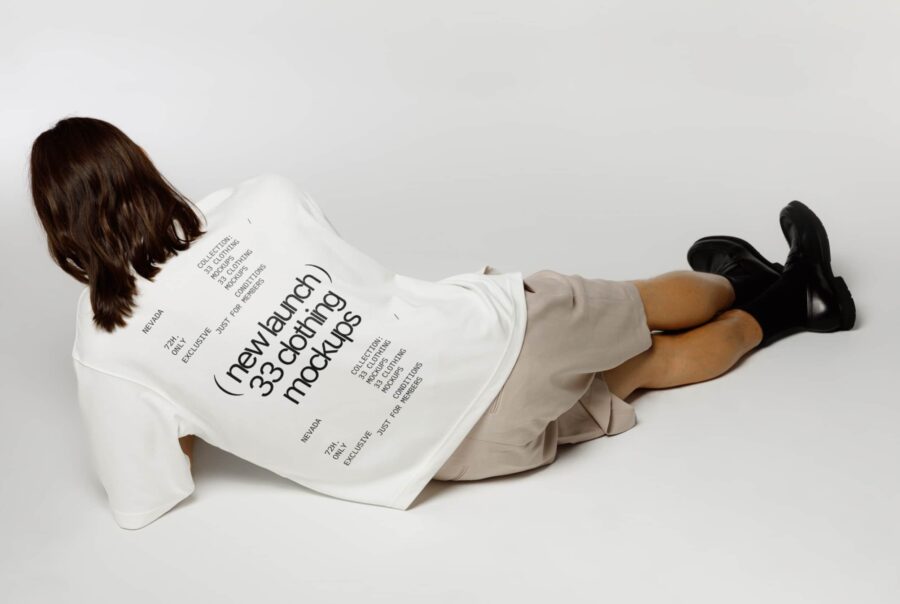
And then we turned this photo into a mockup. Get it for free by clicking on the button below.
These artists already played with it: